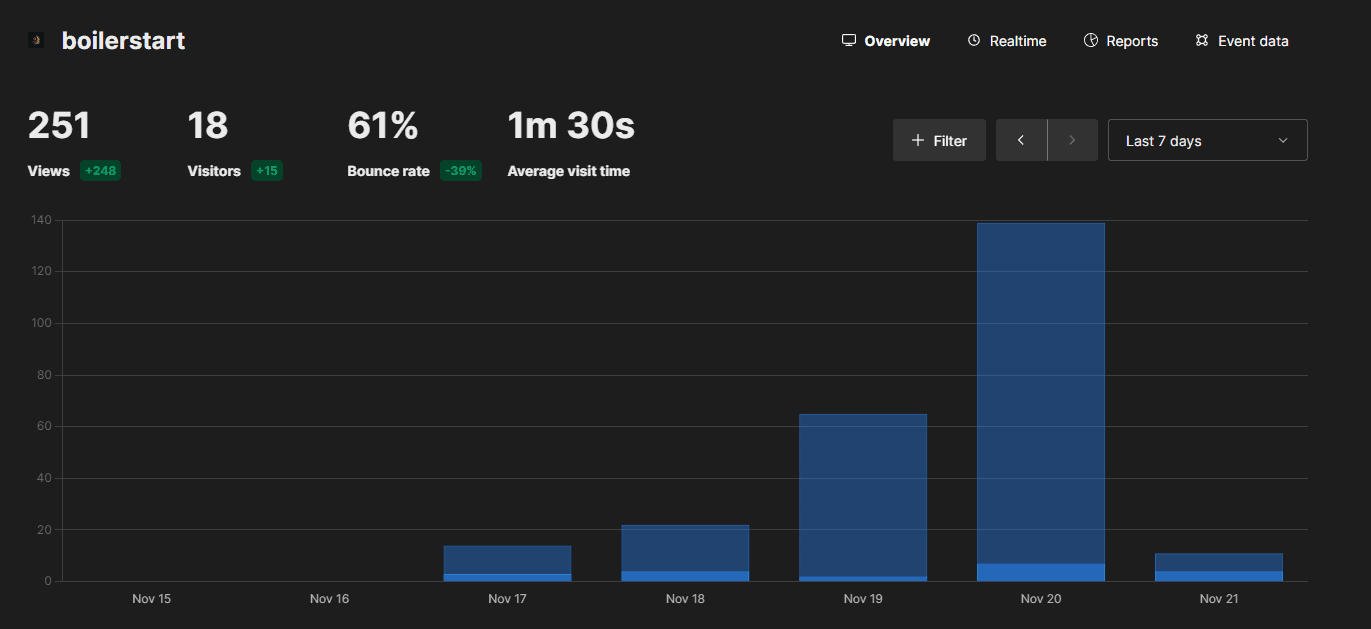
How to easy self host a google analytics alternative in 5 minutes

In this article we will show you, how to self host Umami using Coolify. Umami is a Google Analytics alternative and free to use.
Step 1: Choose and Set Up a VPS
Begin by selecting a Virtual Private Server (VPS) of your choice. A good VPS provider ensures reliability and performance. Once selected, install Linux on your VPS as it's the foundation for running Coolify and Umami.
We can recommend Servers from Hetzner or Contabo
Step 2: Install Coolify
Coolify is an incredible tool for self-hosting various applications. Install it on your server by running the following command:
curl -fsSL https://cdn.coollabs.io/coolify/install.sh | bashStep 3: Create a New Project in Coolify
Navigate to Coolify's interface to start a new project. Select 'Prod' as your environment, which is ideal for a production setup.
Step 4: Add Umami as a New Resource
In your Coolify dashboard, click on 'Add new Resource' and choose Umami. This action prepares Coolify to deploy Umami on your server.
Step 5: Deploy and Access Umami
Press the 'Deploy' button to initialize the installation of Umami. Once completed, access Umami by clicking on 'Open Application.'
Step 6: Configure Umami
Log in to Umami using the default credentials (username: admin, password: umami). Then, head to the 'Settings' to configure your website tracking. Here you can add your website's name and domain.
Step 7: Integrate Tracking Code
In the Umami dashboard, navigate to 'Tracking Code.' Copy this script and add it to your website. For Next.js users, this can be conveniently placed in your Layout.ts file.
Conclusion:
Self-hosting Umami with Coolify offers a robust and privacy-focused alternative to Google Analytics. This setup not only enhances your data control but also keeps your user's information secure. Embrace this approach for a more transparent and efficient web analytics experience.